If you’re like us, you’ve been struggling during this time of remote learning to make your teaching come alive because most of us are used to teaching with tools by our side—document cameras, whiteboards, or anchor charts.
Maybe you’ve been struggling to figure out how to get those tools back! We struggled, too, persevered, and figured it out! And we want to share with you because it’s really easy!
In this blog post we’ll show you how to build a DIY document camera with materials you have at home. We’ll walk you through step-by-step and in our next post we will show you how to use this tool to support your teaching.
Ready to make a document camera with us? Here goes:
What you’ll need:
- 2 equal height supports (soup cans, wipe containers, etc.)
- A board game (or other sturdy material) that’s at least 9” long to suspend over the 2 supports
- Your computer
- A 2nd device with a camera (ie., phone or iPad)
- The Zoom app loaded onto both devices (or whatever online platform you’re using)
- Colorful post-it notes
- Dark-colored markers
How to build it:
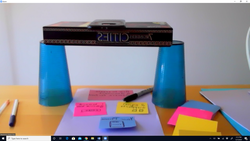
1. Build your platform for your device using the 2 equal height supports and suspension. Note: You might have to play with the height of the platform; higher up gives you a bigger field, but less clarity if the print is small.
But how? This is where a picture is worth a thousand words—you can see by our pictures how to construct a platform for your phone:
- Soup can supports!
- Plastic cup supports!
2. Put down a blank paper or a small whiteboard as your projection surface.
3. Log onto your online platform, such as Zoom with your computer
4. Log onto the same online meeting with your device (if you name it “My Phone” or “My Ipad” it makes it easier to see which device is which.) Make sure video is turned on for both devices, and audio is turned OFF on the 2nd device.
5. Rest your phone on top of the platform, with the camera extended over the game box, over your projection surface, and voila! The camera is projecting.
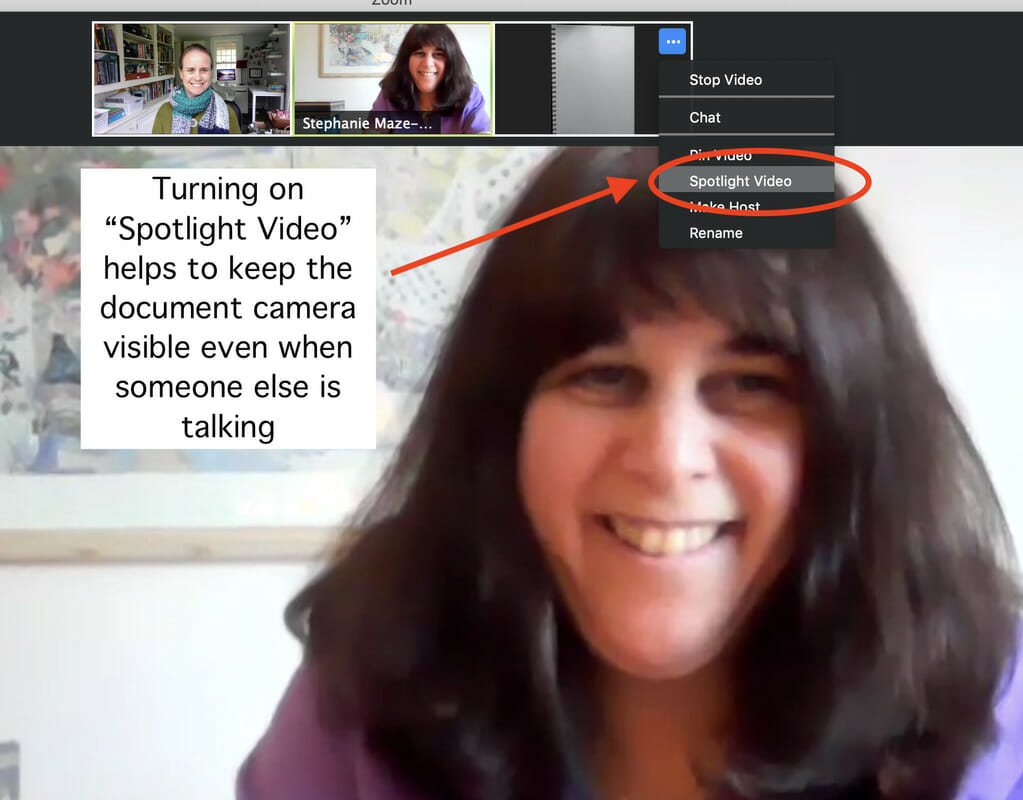
6. To use the 2nd device as either a document camera for text or for you to use as a whiteboard to model something, you have to ensure that it’s big enough on the screen and you have 2 options. You may use Grid View to have yourself and your document camera side by side as equally sized boxes for the viewer OR if you are using Zoom, there is a function called “Spotlight View.” To find Spotlight, on the square containing the picture of the 2nd device and up in the right corner are 3 little dots.

7. Use the set up as an anchor chart, whiteboard or to project text (or any other projection application you can think of!)
8. Remember that your entire Zoom lesson can be recorded easily. Just press the Record Button when you start. When you have finished and pressed “Leave Meeting,” a popup window will show you that the recording is being produced. After you share it with your class, they can watch it as many times as necessary.
Important Note: This type of setup should work with any video conferencing platform! Just log in as a 2nd user on your phone or iPad.
Congratulations! You did it!
We’d love to see how you set yours up! Take a photo and share it with us in the comments below.
Finally, stay tuned for our next blog post all about how you can use your at home document camera to support your teaching.


